It’s been a hectic month, with not much posting from Yours Truly. I have a pretty good excuse, though–I got married! And so far, married life is pretty wonderful, with loads of great surprises. And more than a little paperwork. Eh, whaddaya do?
Anyway, I thought it might be nice to get some normal Maus stuff back on track, and dyed up some roving this morning. A coworker had given me her late mother’s fiber stash, along with several very nice balls of white milled wool. They looked like they would take dye very well, so I mixed up some black and red Jaquard dyes for a nice blended black-cherry sort of thing…
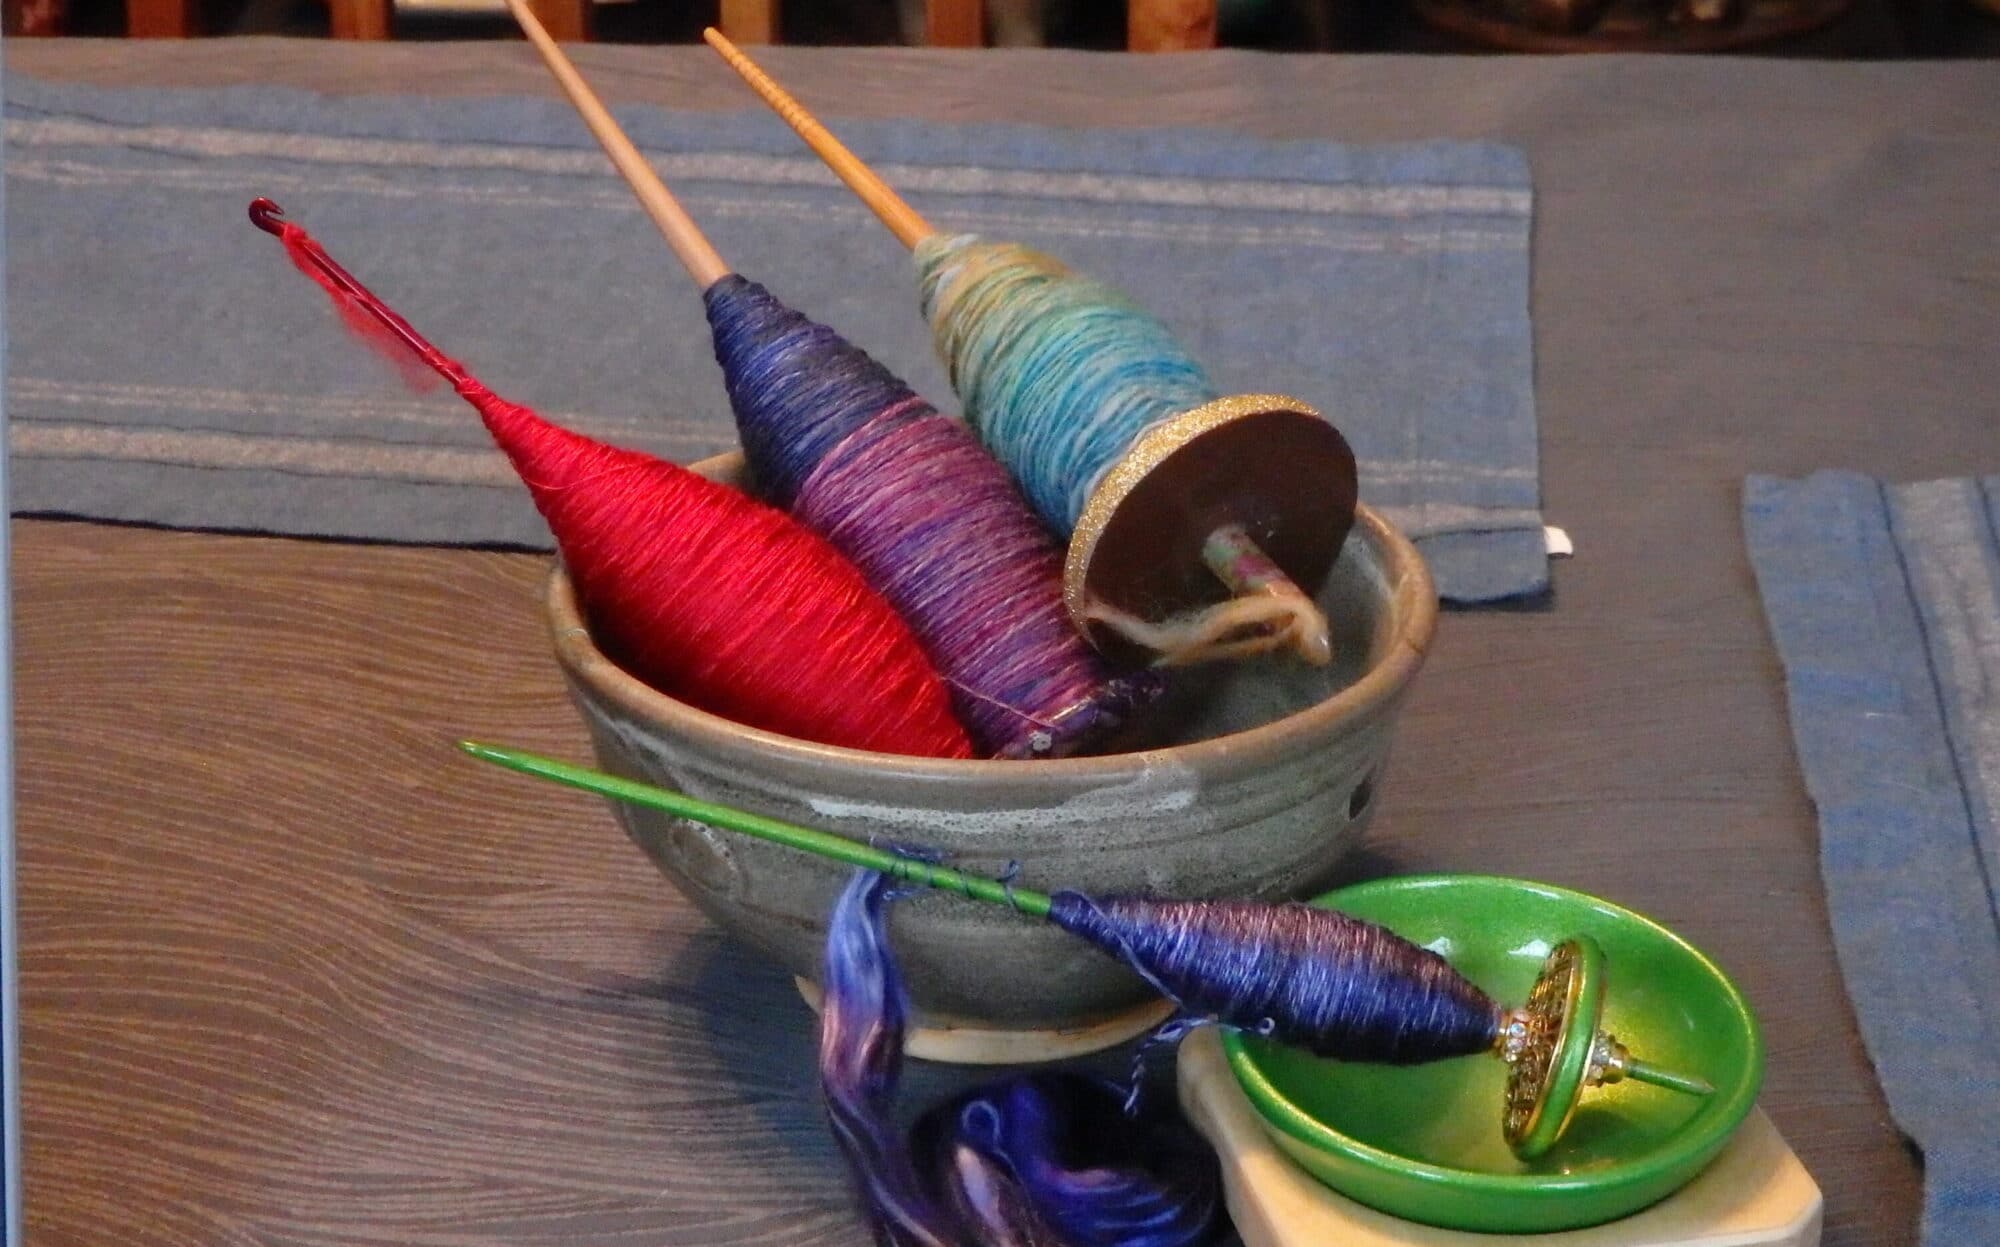
The roving turned out really nice, good and saturated!
While I was adding the red dyes, the pot looked rather…ominous…
What’s in that pot, Maus? What is it? Wool, you say? You sure? It looks…not good…
Sure enough, the minute I put up the photo on my facebook page, all my friends started weighing in with, “That looks…gory!” “It looks like brains!” “Entrails!” “Don’t lie to us, Ms Maus, you put brains in there, didn’t you?” “Brains!!”
So, for the record, I did not stick brains, entrails, or any other unnatural substance in with my lovely, gory looking wool. Because then it would be terribly sticky and hard to clean. Also hard to spin and knit. Gore is nobody’s friend in the fiber arts, my darlings. Though what goes into my gumbo recipes? Wellllll…
Ah, Halloween…it was lovely, everything I hoped for, and now it’s just a happy memory.
But I did get a fun photo of Shamu the Bunny in a jaunty Steampunk hat… Shamu is a dapper little fellow when I put hats on his tiny, rabbity head…
And now it’s the season where everybody realizes they’ve lost their mitts or something’s eaten their scarf and they come running to me. I’ve been plotting and planning new mitts and hats to make, and today I’m just playing with colors, to see what seems to click. So far I’ve got a rose and caramel mix of mohair yarns I like a lot, as well as some black and deep purple sari silk for a Gothly scarf. I have to remind myself to play sometimes; it’s good to make custom stuff to order, but it’s even better to come up with something new…
This week I’ve been taking a staycation to do some much-needed puttering. And one of the things I did was make a couple of new spindles from start to finish. If you want to learn how to spin but the sticker-shock of a wheel got to you, never fear! Drop spindles are easy to make, economical, and fun. Plus you can add your own personal touches! I ended up making one very large Gothly spindle for bulky weight yarns, and a more delicate flowery one…
You will need: A dowel,some sandpaper,1-2 packages of polymer clay,a good glue,paint or beeswax or wood-oil,(optional) one cup hook.(optional.)
First off, have a look at your dowel. How long is it? A good comfortable spindle should be between between 9 to 15 inches, depending on what you want to spin. If you want bulky yarns, go big. Smaller spindles are good for more delicate yarns, but if you’re new to spinning a larger spindle will be your very best friend. Sand your dowel so it doesn’t catch on your yarn and takes paint well. I also like to taper mine a bit because it looks nice. To save yourself loads of sanding for a tapered tip, you can use a pencil sharpener and then smooth everything down and take the sharp edge off. You’re looking for elegant lines, not Buffy the Vampire Slayer here…A bare dowel, sanded and ready for a hook.
You can add your hook at the top of the dowel. But if you couldn’t find a hook you liked, it’s not the end of the world. You can also add a notch to the top to hold onto your yarn. Just loop the yarn around your finger and slip it onto the notch, and it will hold nicely. You can use sandpaper to sand in your notch, or cut one carefully with a knife.A notched dowel with sample yarn. Just loop it around your notch with a half-twist, and it will hold just fine.
I would recommend painting just the top of your dowel whatever color you want at the moment, and sticking it upright in a jar to dry. You’ll use it as a handle later for painting the rest of your spindle. Meanwhile, time for the fun part–playing with clay! For a large spindle, you’ll be using a whole small package of polymer clay while a smaller one will take about 3/4 of a package. You can smoosh out the clay in a circle or square, add colors, glitter, beads, whatever makes you feel fancy. If you have a piece of your dowel left over, you can use it to make sure your center-hole will fit your spindle. If not, you can use your spindle to measure the hole,but be careful you don’t distort the hole too much.Polymer clay spindle whorls, ready to be baked.
Now that you’ve baked your whorls and they’ve had a chance to cool, you can add them carefully to your dowel. If the hole is a little tight, no worries–polymer clay is easy to sand down or even carve.If there’s a gap, it’s easy to fix with a good glue–or you can make a smaller bead with a tighter fitting hole, bake it and add it over the whorl, gluing it into place. But where to put your whorl? Some people enjoy the whorl near the top so you can show off all that hard work. But I like bottom whorls, because they’re so stable. Either way, leave a little room on the top or bottom so it’s easier for you to handle.
Once you’ve got your spindle happily positioned and glued, you can paint, wax or oil the dowel. I prefer paint and a nice clear-coat varnish…and sometimes some very small bore glitter between the pain and varnish layers. Because I get down like that. Once everything is painted, use a string to hang up your spindle somewhere out of the way to dry…The finished drop spindles, one a cute fairy spindle and one a dark, brooding Gothly one…
And there you are! Your very own spindle, for a couple of bucks and a little time…